

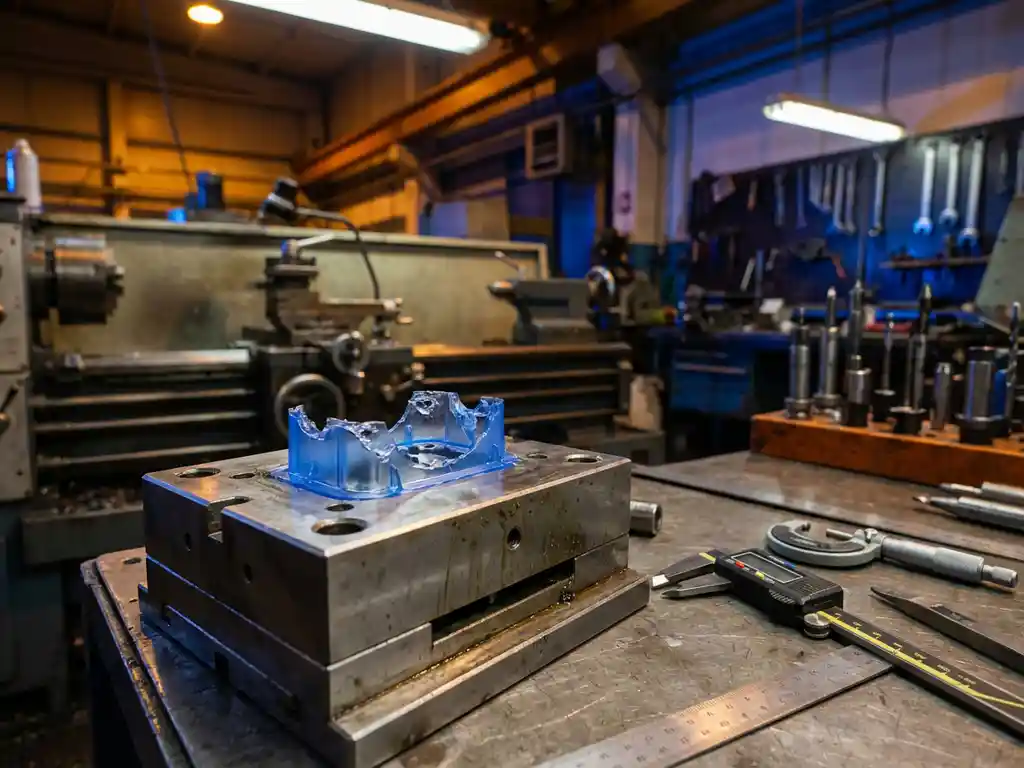
Short shots in injection molding can bring production to a grinding halt, creating frustrating delays and costly waste. When your molded parts come out incomplete or missing sections, you’re dealing with one of the most common—yet solvable—problems in plastic manufacturing. Understanding how to quickly diagnose and fix short-shot issues is essential for maintaining efficient production and minimizing downtime.
Effective injection molding troubleshooting requires a systematic approach that addresses everything from machine settings to mold design. By following proven diagnostic steps and implementing the right solutions, you can get your production line back on track and prevent future short-shot problems from disrupting your manufacturing schedule.
What Are Short Shots in Injection Molding and Why Do They Occur?
Short shots are incomplete molded parts that occur when insufficient plastic material fills the entire mold cavity during the injection process. These defective parts appear partially formed, with missing sections, thin walls, or unfilled features that should be solid plastic.
Short shots happen when plastic flow stops before the mold cavity is completely filled. This premature flow stoppage can result from inadequate injection pressure, insufficient material temperature, blocked flow paths, or mold design issues. The plastic material essentially „runs out of steam” before reaching all areas of the mold, leaving gaps or incomplete sections in the final part.
The timing of when the flow stops determines which areas remain unfilled. Typically, the points farthest from the injection gate—or areas with complex geometry—are most susceptible to short shots. Understanding this flow pattern helps pinpoint the root cause and guides your troubleshooting efforts toward the most likely solutions.
What Are the Most Common Causes of Short Shots?
The most common causes of short shots include insufficient injection pressure, inadequate material temperature, blocked vents or gates, improper shot size, and mold design limitations. These factors often work together, making diagnosis more complex than addressing a single variable.
Injection pressure problems top the list of short-shot causes. When pressure is too low, the plastic cannot overcome flow resistance through narrow channels, thin walls, or long flow paths. Similarly, material temperature issues prevent proper flow characteristics. Cold plastic becomes too viscous to fill intricate mold features or travel long distances within the cavity.
Mold-related issues create significant flow obstacles. Blocked or undersized vents prevent air from escaping, creating back pressure that stops plastic flow. Clogged gates restrict material entry into the cavity. Additionally, shot-size miscalculations mean insufficient plastic volume is available to fill the entire mold, regardless of pressure or temperature settings.
How Do You Diagnose Short Shot Problems Step by Step?
Start diagnosing short shots by examining the incomplete parts to identify which areas consistently remain unfilled, then systematically check machine settings, material conditions, and mold status. This methodical approach prevents wasted time on unlikely causes and focuses efforts on the most probable solutions.
Begin your diagnosis by documenting the short-shot pattern. Note which sections of the part are missing and whether the problem affects all parts uniformly or varies between cycles. Consistent patterns often indicate mold design issues, while variable problems typically point to machine settings or material inconsistencies.
Next, verify your machine parameters against the material manufacturer’s recommendations. Check injection pressure, temperature profiles, injection speed, and shot-size settings. Compare these values to your process sheets and note any deviations. Many short-shot problems stem from inadvertent parameter changes or settings that worked for different materials but aren’t suitable for your current job.
Examine the mold condition thoroughly. Inspect gates for blockages, verify vent functionality, and check for any damage or wear that might restrict flow. Cold-runner systems require particular attention to ensure all channels remain clear and properly heated.
How Do You Fix Injection Pressure and Temperature Issues?
Fix injection pressure problems by gradually increasing pressure in small increments while monitoring part quality, and address temperature issues by adjusting barrel zones and mold temperature according to material specifications. These adjustments should be made systematically to avoid overcorrection.
When increasing injection pressure, start with 5–10% increments and run several test shots between adjustments. Monitor not just the short-shot issue but also other quality factors, such as flash, stress marks, or dimensional changes. Higher pressure can solve filling problems but may create new issues if pushed too far.
Temperature corrections require attention to both barrel heating zones and mold temperature. Increase barrel temperatures gradually, starting with the rear zones and working forward. The goal is to achieve proper melt viscosity without causing material degradation. Mold temperature adjustments help maintain plastic flow as it travels through the cavity, which is particularly important for thin-walled parts or long flow paths.
Consider injection speed adjustments alongside pressure and temperature changes. Sometimes slower injection speeds allow better cavity filling by giving the plastic more time to flow into difficult areas, while faster speeds might be needed to fill the mold before the plastic cools and stiffens.
When Should You Modify the Mold to Prevent Short Shots?
Modify the mold when machine-parameter adjustments cannot solve persistent short-shot problems, particularly when dealing with inadequate venting, undersized gates, or poor runner design. Mold modifications become necessary when the tooling itself creates insurmountable flow restrictions.
Venting improvements are often the most effective mold modifications for short-shot prevention. Add or enlarge vents at the end of flow paths, particularly in areas that consistently show incomplete filling. Proper venting allows trapped air to escape, eliminating the back pressure that stops plastic flow.
Gate modifications address flow restriction at the entry point. Enlarging gates or adding additional gates can improve cavity filling, especially for large or complex parts. However, gate changes affect part appearance and may require adjustments to your finishing processes.
Runner-system improvements become necessary when flow analysis reveals inadequate material delivery to certain mold areas. This might involve enlarging runner diameters, adding flow channels, or repositioning gates for better flow distribution. These modifications require careful engineering to maintain proper flow balance across all cavities.
How EAS Change Systems Helps Reduce Production Downtime
We understand that injection molding issues like short shots can severely impact your production efficiency and increase downtime costs. Our quick mold change systems help minimize these disruptions by enabling faster mold swaps and more efficient setup processes when troubleshooting requires mold modifications or replacements.
Our comprehensive solutions support your troubleshooting efforts through:
- Quick mold change systems that reduce setup times from hours to minutes when switching between molds during problem diagnosis
- Adaptive clamping systems that ensure consistent mold positioning and pressure, eliminating variables that can contribute to short-shot problems
- Mold handling equipment that safely manages tooling during inspection and modification processes
- Professional application engineering support to optimize your mold-change processes and reduce overall production downtime
Ready to reduce your injection molding downtime and improve troubleshooting efficiency? Contact our team today to discuss how our quick mold change solutions can streamline your production processes and get you back to making quality parts faster.